How to Create a Home Recording Studio: Tips for Amateur Musicians
Choosing the Right Equipment
Starting with an audio interface is essential. This device acts as the bridge between your instruments or microphones and your computer, converting analog signals into digital data. Many budget-friendly options exist, like the Focusrite Scarlett series or the PreSonus AudioBox, which provide high-quality audio conversion without straining your finances.
Microphones play a pivotal role in capturing the nuances of your sound. For vocal recordings, a large-diaphragm condenser microphone is ideal, while dynamic microphones like the Shure SM57 are excellent for live instruments. It’s important to consider using a pop filter to enhance vocal clarity by reducing plosive sounds.
Software: The Heart of Production
Your choice of a Digital Audio Workstation (DAW) will significantly impact your recording experience. Popular options include Ableton Live, which is favored by electronic music producers for its flexibility, and Pro Tools, regarded as the industry standard for mixing and editing. Each DAW has its own set of tools and workflow, so exploring trial versions can help you find what fits best for your needs.
Sound Monitoring
To ensure your mixes translate well to other systems, investing in quality studio monitors is crucial. Look for flat frequency response speakers like the KRK Rokit or Yamaha HS series; these will provide an accurate representation of your mix. Additionally, a reliable pair of headphones, such as the Audio-Technica ATH-M50x, will allow you to monitor your recordings without unwanted background noise.
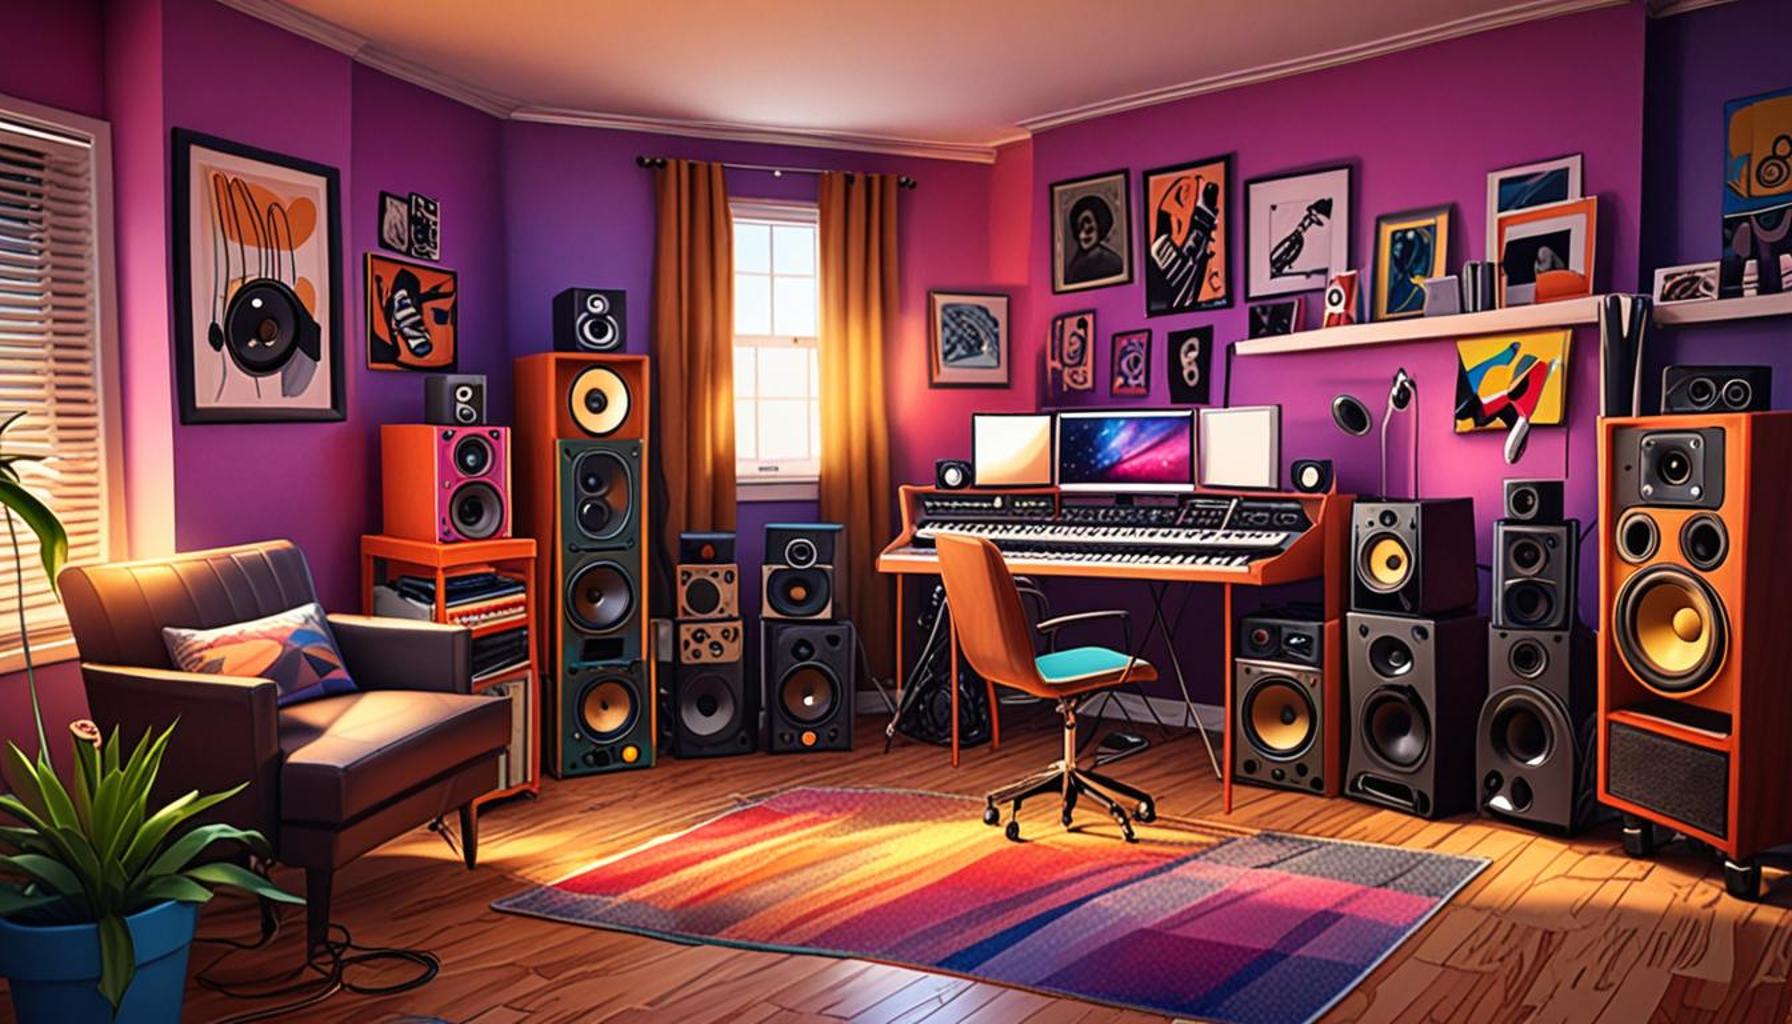
Creating the Ideal Studio Environment
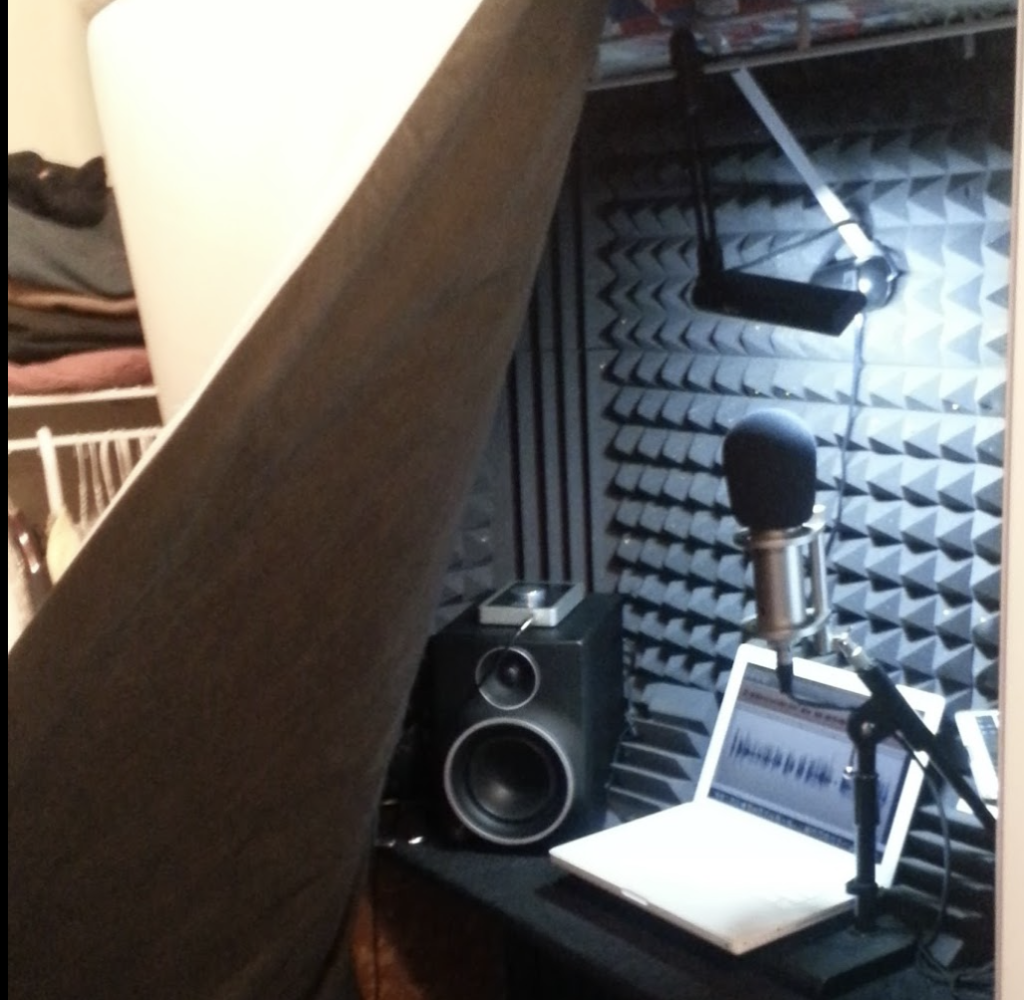
The physical space of your home studio cannot be overlooked. Implementing soundproofing options such as foam panels or bass traps can greatly reduce unwanted echoes and outside noise, creating a more professional-sounding recording environment. Simple modifications like heavy curtains or rugs can also contribute positively to room acoustics.
Inspiration Through Decoration
As you set up your studio, consider personalizing the space to make it yours. Decor can be anything from inspiring artwork to comfortable furnishings tailored to your liking. A well-decorated workspace not only enhances your creativity but also makes long recording sessions more enjoyable.
As you venture into creating your home recording studio, these essential elements will help pave the way for your musical journey. Whether you’re laying down tracks in your bedroom or a dedicated studio space, each decision you make will contribute to the quality of your sound and the overall success of your projects.
Keep these tips in mind and explore each component intentionally. Doing so will allow you to establish a reliable, efficient workspace where creativity can flourish and high-quality music can be produced.
DIVE DEEPER: Click here to explore the world of digital art
Building Your Recording Setup
The heart of any home recording studio lies in its setup. Properly arranging your equipment can dramatically influence not only the quality of your recordings but also your workflow. Be sure to designate a specific area in your home where you can comfortably work, free from distractions. This space should cater to both your technical needs and your creative instincts.
Ergonomics Matter
Consider your seating and positioning. Investing in a good studio chair can enhance comfort, particularly during long sessions. Make sure your desk is at the proper height, allowing you to easily access your equipment without straining your back or neck. A well-organized workspace can pave the way for enhanced focus and productivity.
Essential Gear Layout
When setting up your gear, follow these fundamental guidelines for an efficient layout:
- Keep your audio interface close to your computer for easy connectivity.
- Position your studio monitors at ear level and form an equilateral triangle with your listening position for optimal sound.
- Organize cables neatly to avoid tangles and create a safer workspace.
- Store your microphones and instruments in easily accessible locations to streamline your recording process.
Choosing the Right Recording Techniques
Once the physical setup is complete, it’s time to focus on recording techniques. Understanding how to capture the best sound can significantly elevate your music production. Here are a few techniques to consider:
- Layering Tracks: Building multiple layers of sound can add depth to your recordings. Experiment with different instruments or vocal takes to create a full, rich sound.
- Use of Effects: Adding reverb or delay can enhance your tracks, giving them a more professional feel. Most DAWs come equipped with built-in effects that are easy to apply.
- Record in High Quality: Always choose high-bit-rate settings to ensure that you capture maximum audio fidelity. This practice minimizes quality loss during mixing and mastering.
Experimentation and Innovation
Creativity thrives on experimentation. Don’t shy away from trying unique sounds or unconventional recording techniques. Often, the most memorable pieces of music arise from playful trial and error, so keep your approach open-minded and flexible.
As you set up your home recording studio, remember that the key to a successful space is one that inspires you creatively while offering the technical capabilities to capture your sound effectively. Each element of your studio plays a crucial role, and when harmoniously integrated, they can lead to outstanding musical creations. Explore your creativity and don’t hesitate to refine your studio as you evolve as an amateur musician.
Essential Equipment for Your Home Recording Studio
Creating a home recording studio can be an exciting journey for amateur musicians. The right equipment is crucial to achieving high-quality recordings. Here are some essential items every aspiring sound engineer should consider:
1. Audio Interface
An audio interface is a device that converts analog signals into digital audio for recording and playback on your computer. It serves as the backbone of your recording setup. Look for interfaces with multiple inputs and outputs to easily connect all your instruments and microphones.
2. Microphones
Microphones are fundamental for capturing sound. Depending on your needs, you may want to invest in a variety of microphones, including condenser mics for studio vocals and dynamic mics for instruments. A good starter microphone can often make a considerable difference in sound quality.
3. Studio Monitors
To accurately hear and mix your recordings, studio monitors are essential. Unlike regular speakers, they produce a flat frequency response, ensuring that you hear the true sound of your recordings. Investing in quality studio monitors allows for better mixing accuracy and can enhance your overall production sound.
4. Headphones
A pair of closed-back headphones is necessary for monitoring during recording without causing bleed into your microphone. Look for comfortable headphones with good isolation and a flat frequency response that will help you make informed mixing decisions.
5. DAW (Digital Audio Workstation)
Choosing the right DAW is critical to your workflow. Popular options include Ableton Live, Pro Tools, and Logic Pro. Each offers various features suited to different styles of music production. Familiarize yourself with their capabilities to get the most out of your recording sessions.To further enhance your recording environment, consider soundproofing and acoustic treatment to help eliminate unwanted noise and improve sound quality. With these essential components, you’ll be on your way to creating professional-sounding tracks right at home.
| Equipment | Benefits |
|---|---|
| Audio Interface | Essential for converting analog signals and high-quality recordings. |
| Microphones | Captures vocals and instruments accurately, improving sound quality. |
| Studio Monitors | Provides a flat sound profile for precise mixing and monitoring. |
| Headphones | Allows for noise-free monitoring during recording sessions. |
| DAW | Central software for recording, editing, and producing music. |
Incorporating these elements into your home recording studio will provide the tools necessary for a successful music production experience. Stay tuned for more tips and advanced techniques to elevate your recording skills!
DISCOVER MORE: Click here to explore the world of digital art
Maximizing Your Sound Quality
Sound quality is a key factor in any home recording studio. Even with the best equipment, poor acoustics can hinder the sound integrity of your recordings. By addressing the acoustics of your space, you can create a more controlled environment for capturing superb audio.
Acoustic Treatment
Invest in basic acoustic treatment to minimize unwanted reflections and background noise. Here are some effective strategies:
- Use Acoustic Panels: Install foam panels on your walls to absorb sound. Place them at first reflection points to reduce echo.
- Bass Traps: Corners of the room are prime spots for low frequencies to build up. Installing bass traps can help manage these frequencies, ensuring a balanced sound.
- Rug or Carpet: Covering hard floors with rugs or carpets can significantly dampen sound. This is especially useful in rooms with hardwood or tile flooring.
Finding the Best Recording Environment
The best recording environment should be both acoustically treated and free from external noise. Choose a room that is away from distractions and outside noise, such as busy streets. Conduct tests by recording samples of your voice or instruments in different locations within the space to identify the areas that provide the best sound quality.
Also, be mindful of windows and doors; these can let in unwanted sounds. If possible, use heavy curtains or blinds to block external noise and enhance sound isolation.
Utilizing Software Effectively
Once the hardware is in place, mastering your digital audio workstation (DAW) is crucial. Your DAW acts as the command center for your recording process, allowing you to mix, edit, and produce tracks efficiently. Here are some tips to make the most out of your DAW:
Understanding Your Software
Invest time in learning the ins and outs of your chosen DAW. Most platforms, like Pro Tools, GarageBand, and FL Studio, offer comprehensive tutorials and user guides that can help you maximize their potential. Familiarize yourself with features such as:
- Automation: This allows you to create dynamic changes in volume, panning, or effects over time, enhancing your tracks.
- Virtual Instruments: Most DAWs come equipped with virtual instruments. Explore these to expand your musical possibilities without needing physical instruments.
- MIDI Editing: Utilize MIDI files to create and manipulate notes using adjustable parameters for pitch, velocity, and timing.
Backup Your Work
Finally, always keep backups of your projects. Utilize external hard drives or cloud-based storage to save multiple versions of your work, protecting yourself against data loss. This ensures that you can revisit and revise your projects as needed, fostering continuous improvement in your music-making journey.
Embracing sound quality through thoughtful acoustic treatment and mastering your software tools will empower you to elevate your music production. By curating an environment conducive to creativity and learning the intricacies of your DAW, your home recording studio can become a powerful outlet for your artistic expression.
DIVE DEEPER: Click here to discover more
Conclusion
Creating a home recording studio is an exciting journey for any amateur musician, offering you the freedom to explore your creativity in a personal and flexible space. By following the essential tips outlined in this article, you can create a studio that not only reflects your artistic vision but also delivers high-quality sound.
To summarize, investing in quality equipment is crucial—selecting the right microphones, audio interfaces, and monitoring speakers can significantly enhance your recording experience. Coupled with this, optimizing your room’s acoustics through effective treatment and careful placement of furniture and materials will greatly improve sound clarity. Don’t overlook the importance of utilizing your digital audio workstation (DAW) wisely; familiarity with its features can unleash a world of creative possibilities.
Additionally, remember to back up your work consistently. Data security is often neglected, yet a simple backup routine can save you from potential loss of your hard-earned projects. As you develop your skills and refine your setup, the combination of thoughtful planning and dedicated practice will pave the way for musical growth.
As an amateur musician, take pride in your DIY home studio. Continue to explore, experiment, and enjoy every minute spent creating music. With each recording, you are not just capturing sound; you are weaving your unique narrative into the vast tapestry of the musical landscape. So, dive in, let your passion lead the way, and transform your home into a thriving hub for your musical aspirations.